Tech Tips — Bushing the balance rail
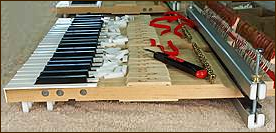
After the front rail is bushed, the keys can be turned over
and the front rail cauls will support the keys for a level
work surface.
As with the front rail, lay out the correct Intermediate
cauls, cloth strips, knife, and small hammer.
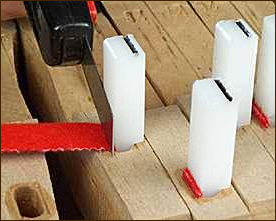
The single shoulder cauls allow two methods of bushing
the balance rail: shouldered style as shown at right, or
flush cut. To make shouldered bushings you use the
shouldered side of the caul, just as with a front rail
bushing. To make flush cut bushings, use the flat side as
discussed below.
We prefer to make shouldered balance rail bushings even
if the originals were flush cut. They are slightly faster to
install this way, and they look nice.
When making flush cut bushings, your first instinct will be
to trim the cloth by cutting sideways, against the side of
the caul. This will work and will not harm the cauls, but it
is slower and more awkward. We prefer the following
method:
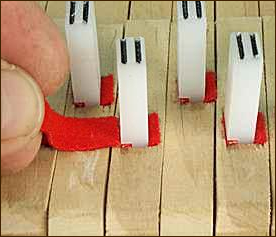
Cut downward against the key button, but angle the knife
just slightly away from the caul so a small tab is left
sticking up as shown at right. Do the same for the second
piece of cloth and the Final cauls.
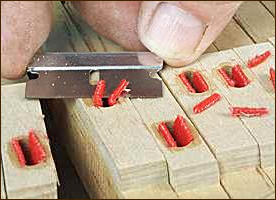
Then, after leaving the Final cauls in place for several
hours to size the bushings, trim the tabs flush to the key
buttons with a sharp razor blade as shown (center pin end
nippers work well also).
As a finishing touch you can run a small electric pad
sander across the key buttons to tidy the top surface.
top of page